Using FileZilla for SFTP
Step 1
FileZilla is a freely available SFTP client that you can use at home in place of the SSH Secure File Transfer program that we are using in the labs to transfer files between the local machine and the remote Burrow machines. FileZilla works on Windows, OS X and Linux.
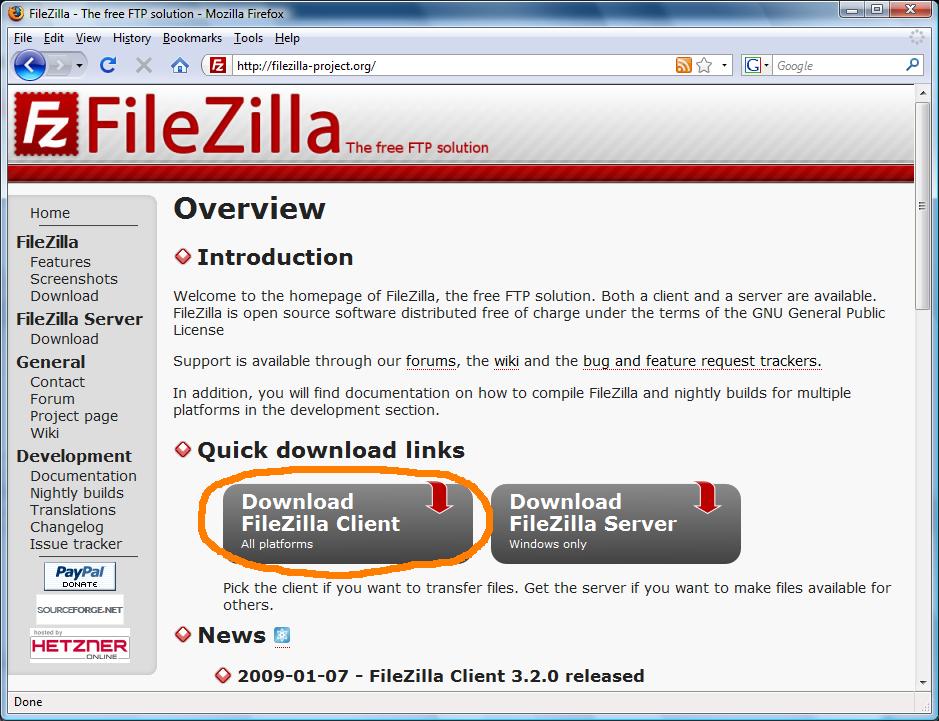
To download FileZilla go to the FileZilla homepage and click on the “Download FileZilla Client” link.
Step 2
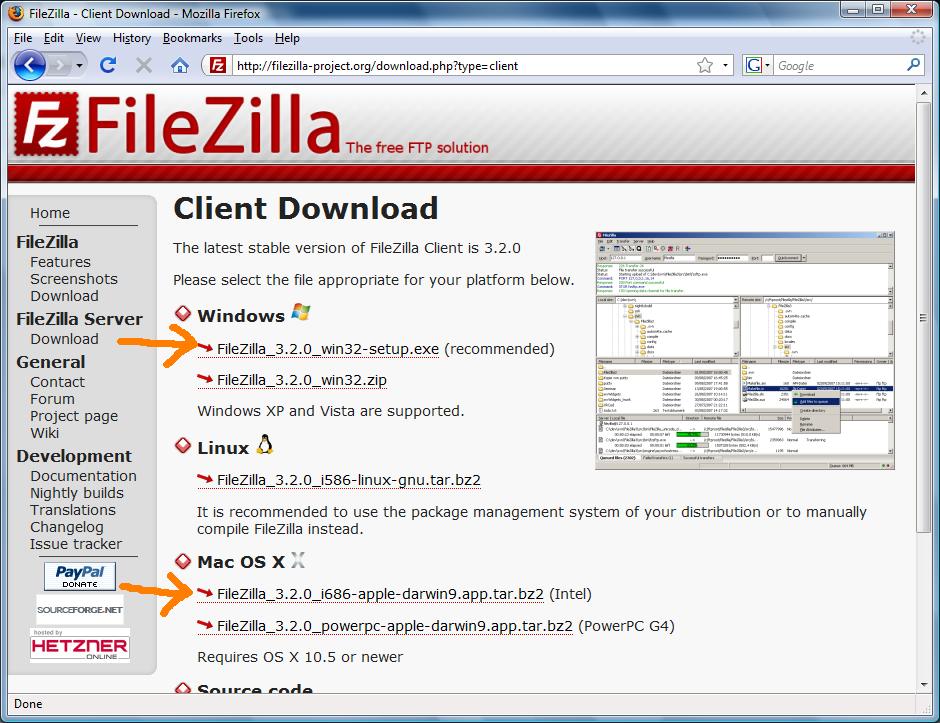
Next use the download that is appropriate for your operating system to install FileZilla.
Step 3
Once you have installed FileZilla, start the program and you should be greeted by a window similar to the following.
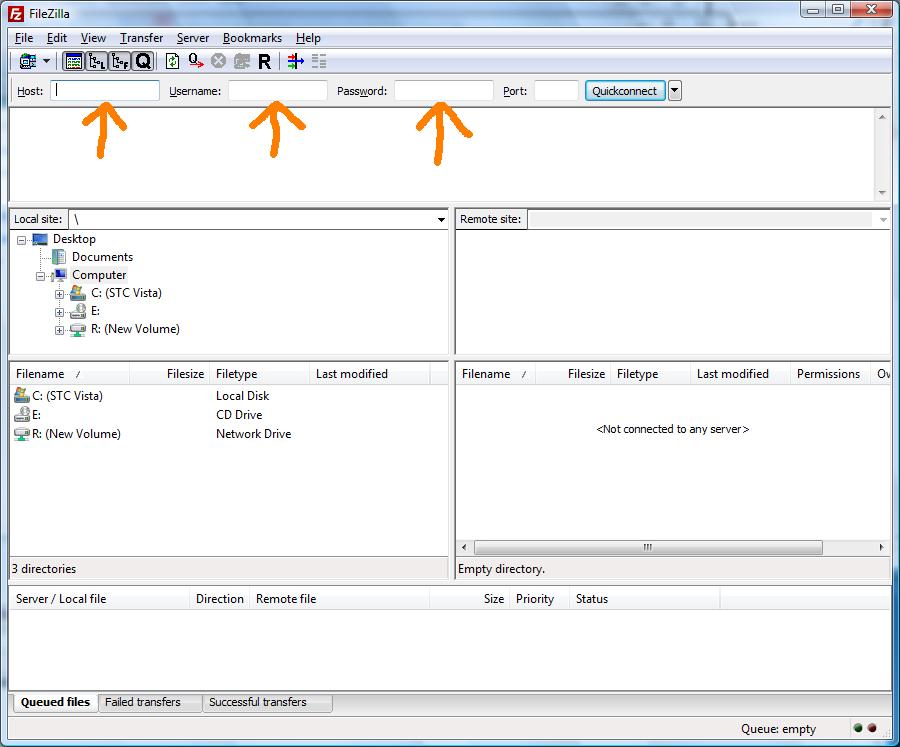
The interface is fairly self explanatory. You will need to fill in the Host, Username and Password fields.
WARNING
One trick you should note is that since we want to use SFTP instead of regular FTP you will need to put “sftp://” in front of the hostname.

Step 4
Once you have filled in those fields, click the Quickconnect button and FileZilla should connect you to the remote machine
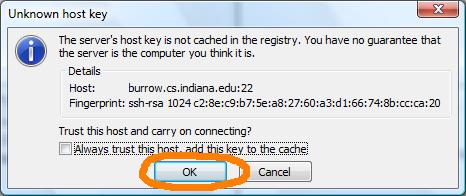
If a window asking about an unknown host key appears, just click the “OK” button.
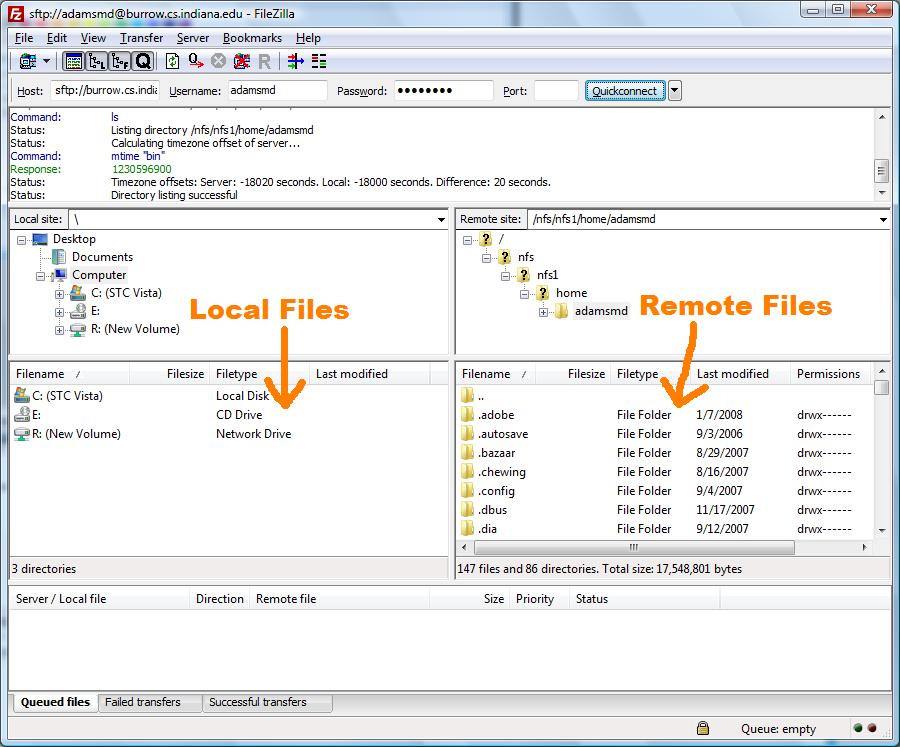
Step 5
Finally, this is what FileZilla looks like once it is connected. In the left pane you will see your local files and in the right pane are your remote files. You can freely drag and drop between them or even directly to the desktop.